7-step Guide for "Vibe Coding" New Features in your Projects
Feel like I missed the boat.
More on that below, but first…
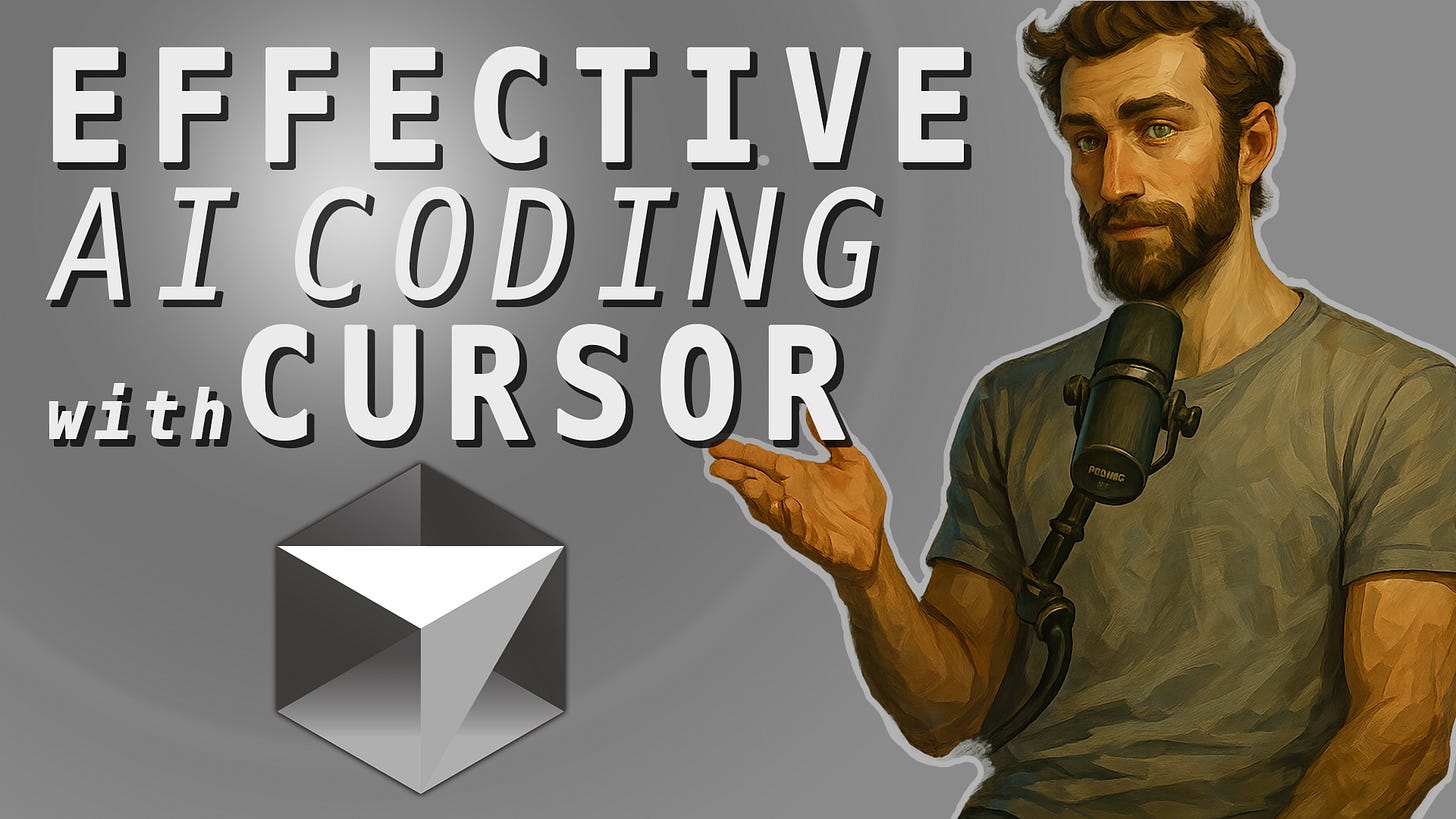
In this video I outline a 7 step guide for using AI dev tools to build on existing projects, and I demo it by building an actual blog for my website with Cursor.
Check out the video on YouTube
So why do I feel like I missed the boat?
When I heard about “vibe coding” a few weeks ago, it sounded so cool… But now—it’s already seeming a bit cringe.
Maybe it’s always been cringe, and I just didn’t notice.
Or maybe I’m just experience creators remorse. After all, what’s wrong with vibe coding your dreams into reality?
Well, in any case, you can let me know ;) — also let me know what you think of this stylized thumbnail of myself (courtesy of 4o’s new image gen model).
I figured—why not go all in on the cringe? What’s the worst that could happen?
AI Engineer Roadmap 🚀
Thanks to all who took the plunge last month and started in on your AI Engineer Roadmap — https://zazencodes.com/
For those of your who purchased the course, you’ll be seeing me in your inbox slightly more often over the next few months. I wrote up a series of onboarding emails—mostly just friendly reminders to keep learning!
Topics from this week’s video
Step 1: Define a Clear Spec
Clearly articulate the new feature
Example: Blog implementation with Markdown posts and URL slugs
Writing down specs ensures precision for AI tools
Step 2: Commit to Version Control
Ensure a clean working state by committing changes
Use Git to check status and commit modifications
Optional: Create a new feature branch (e.g.,
feature/blog)
Step 3: Understand the Codebase
Use AI-assisted IDEs like Cursor to analyze project structure
Ask AI for explanations instead of direct code generation
Verify AI suggestions before implementing them
Step 4: Craft an Effective Prompt
Start with a clear task statement
Include specific context and references to key files
Balance specificity with AI’s design flexibility
Example: Specifying Markdown rendering component for blog posts
Step 5: Monitor AI-Generated Code
Review AI changes carefully before accepting them
Check modified files, imports, and structure consistency
Example: Ensuring the correct folder structure for blog posts
Step 6: Test Early and Often
Regularly run the application to catch issues quickly
Debug errors by feeding them back into the AI model
Example: Fixing
splitfunction error in blog routing
Step 7: Iterate and Retry Prompts
Don’t hesitate to discard and regenerate AI-generated code
AI results can vary, so multiple attempts may be needed
Example: Resetting project state and rerunning prompts for better outcomes
What we want in life is on the other side of fear.
Ryan Holiday

